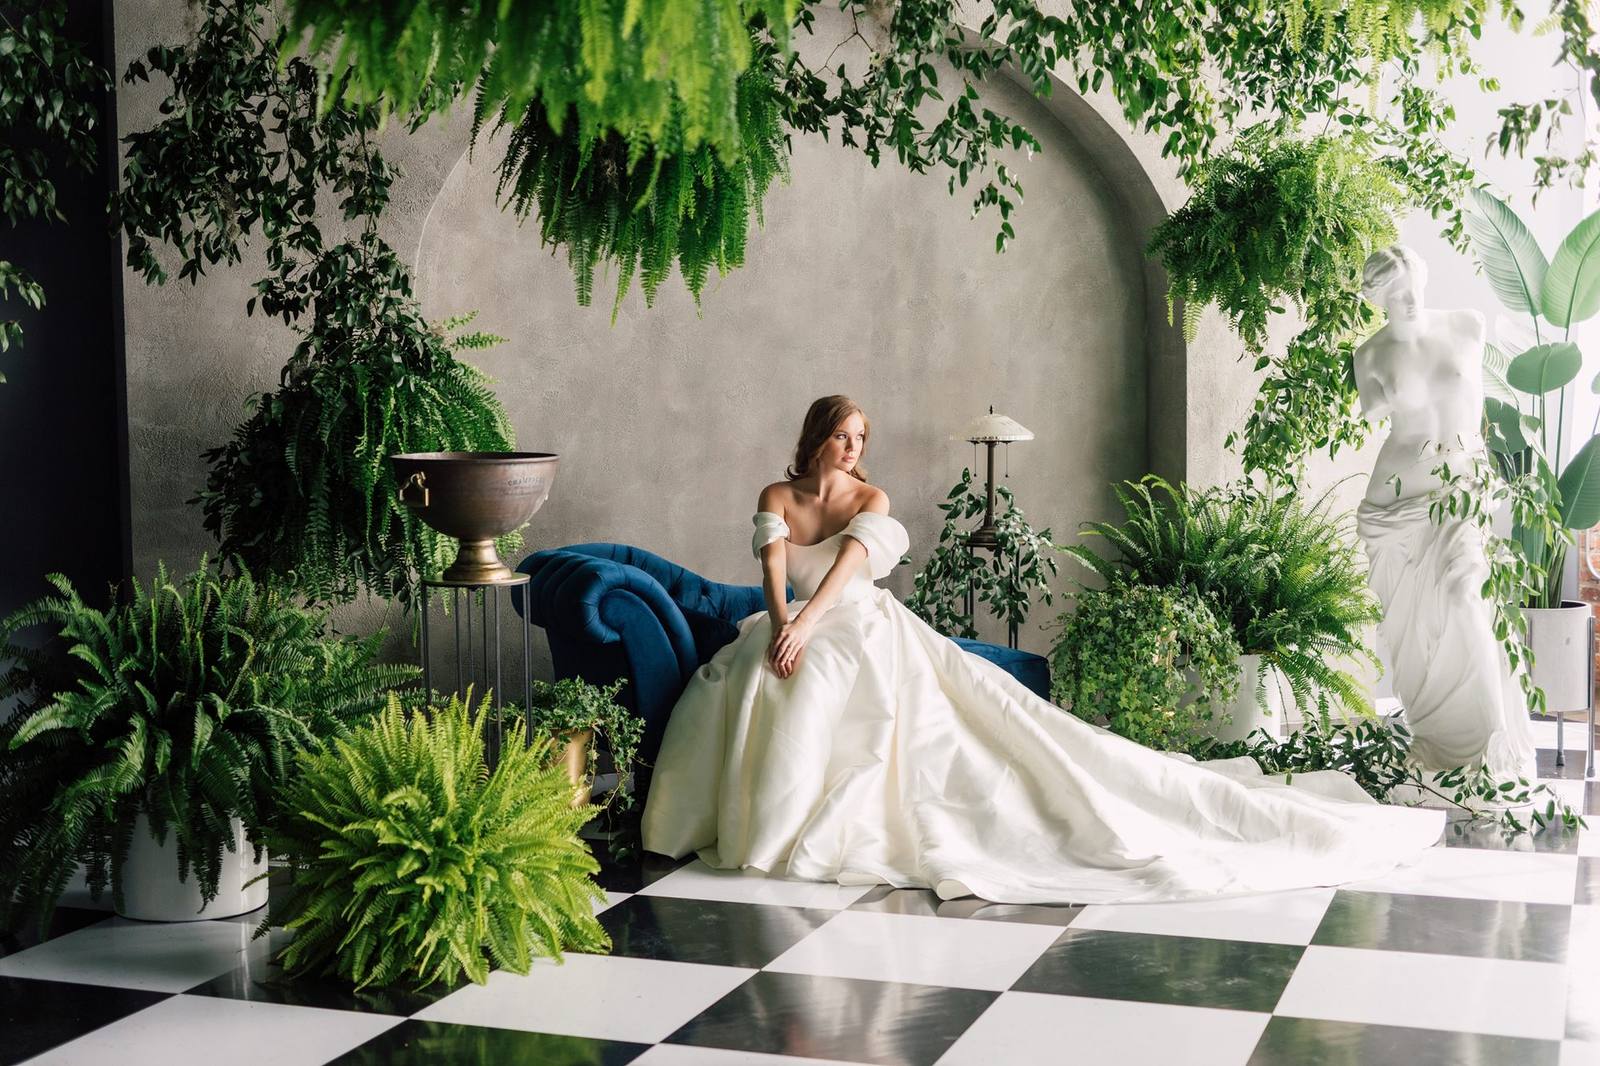
A custom printed dance floor transforms your wedding reception from beautiful to unforgettable. Whether you're dreaming of a monogram centrepiece, a full floral wrap, or your wedding date in elegant script, the ordering process is simpler than most couples expect—especially when you're working with a Canadian supplier who understands local venues and timelines.
This guide walks you through each step, from initial concept to installation day, so you know exactly what to expect when ordering a custom dance floor for your wedding anywhere in Canada.
Step 1: Determine Your Floor Size
Before you start browsing design inspiration, you need to know how much dance floor you actually need. The general rule in event planning is 4 to 5 square feet per dancing guest. For weddings, assume about 40-50% of your guest list will be on the floor at peak dancing time.
| Guest Count | Expected Dancers | Recommended Floor Size |
|---|---|---|
| 80–100 guests | 35–50 people | 12' × 12' (144 sq ft) |
| 100–150 guests | 50–75 people | 15' × 15' (225 sq ft) |
| 150–200 guests | 75–100 people | 18' × 18' (324 sq ft) |
| 200–250 guests | 100–125 people | 20' × 20' (400 sq ft) |
| 250+ guests | 125+ people | 24' × 24' or custom |
If you're unsure about your venue's dimensions, ask your coordinator for a floor plan. Most GTA banquet halls, including popular spots in Vaughan, Mississauga, and Brampton, can accommodate floors up to 24' × 24' comfortably.
Step 2: Choose Your Design Direction
This is the creative part. Custom dance floors at Designer Dance Floors fall into a few popular categories:
- Monogram or crest: Your initials, wedding date, or a custom family crest centred on the floor
- Full-coverage print: Florals, marble patterns, celestial themes, or venue-matching designs
- Border designs: Clean centre with decorative edging that frames the dance space
- Photo-realistic: High-resolution images, including florals that match your arrangements
When submitting your quote request, share any inspiration images, your wedding colours (Pantone codes if you have them), and examples of your invitation suite or signage. The more reference material you provide, the more cohesive your final design will be.
"The dance floor tied everything together—it matched our invitations perfectly, and our photographer said it made every reception shot look like it belonged in a magazine."
Step 3: Request Your Quote and Review the Proof
Once you submit your details, a reputable Canadian supplier will send you a detailed quote within 24 to 48 hours. This should include the floor dimensions, print specifications, delivery or installation options, and total pricing with no hidden fees.
After you approve the quote and place your deposit, you'll receive a digital proof—a scaled mockup showing exactly how your design will appear on the finished floor. Take your time reviewing this. Check spelling, colour accuracy, and layout proportions. Most suppliers, including Designer Dance Floors, offer one or two rounds of revisions at no extra charge.
Step 4: Confirm Lead Times and Delivery
Custom printed dance floors in Canada typically require 3 to 4 weeks for production. For peak wedding season (May through October), we recommend placing your order at least 6 weeks before your event to ensure availability and allow time for any design tweaks.
What to confirm before production begins:
- Delivery method: Will the floor be shipped to your venue, delivered by the supplier, or picked up?
- Installation: Is professional setup included, or will your venue coordinator handle it?
- Access timing: When can the floor be installed? Most venues allow setup 2-4 hours before the reception
- Removal: Who's responsible for post-event teardown and collection?
For weddings in the Greater Toronto Area, full-service delivery and installation is often the most convenient option. The team arrives, assembles the floor panels, and returns after your event to collect everything—leaving you free to focus on your celebration.
Step 5: Prepare for Installation Day
On the day of your wedding, the installation team