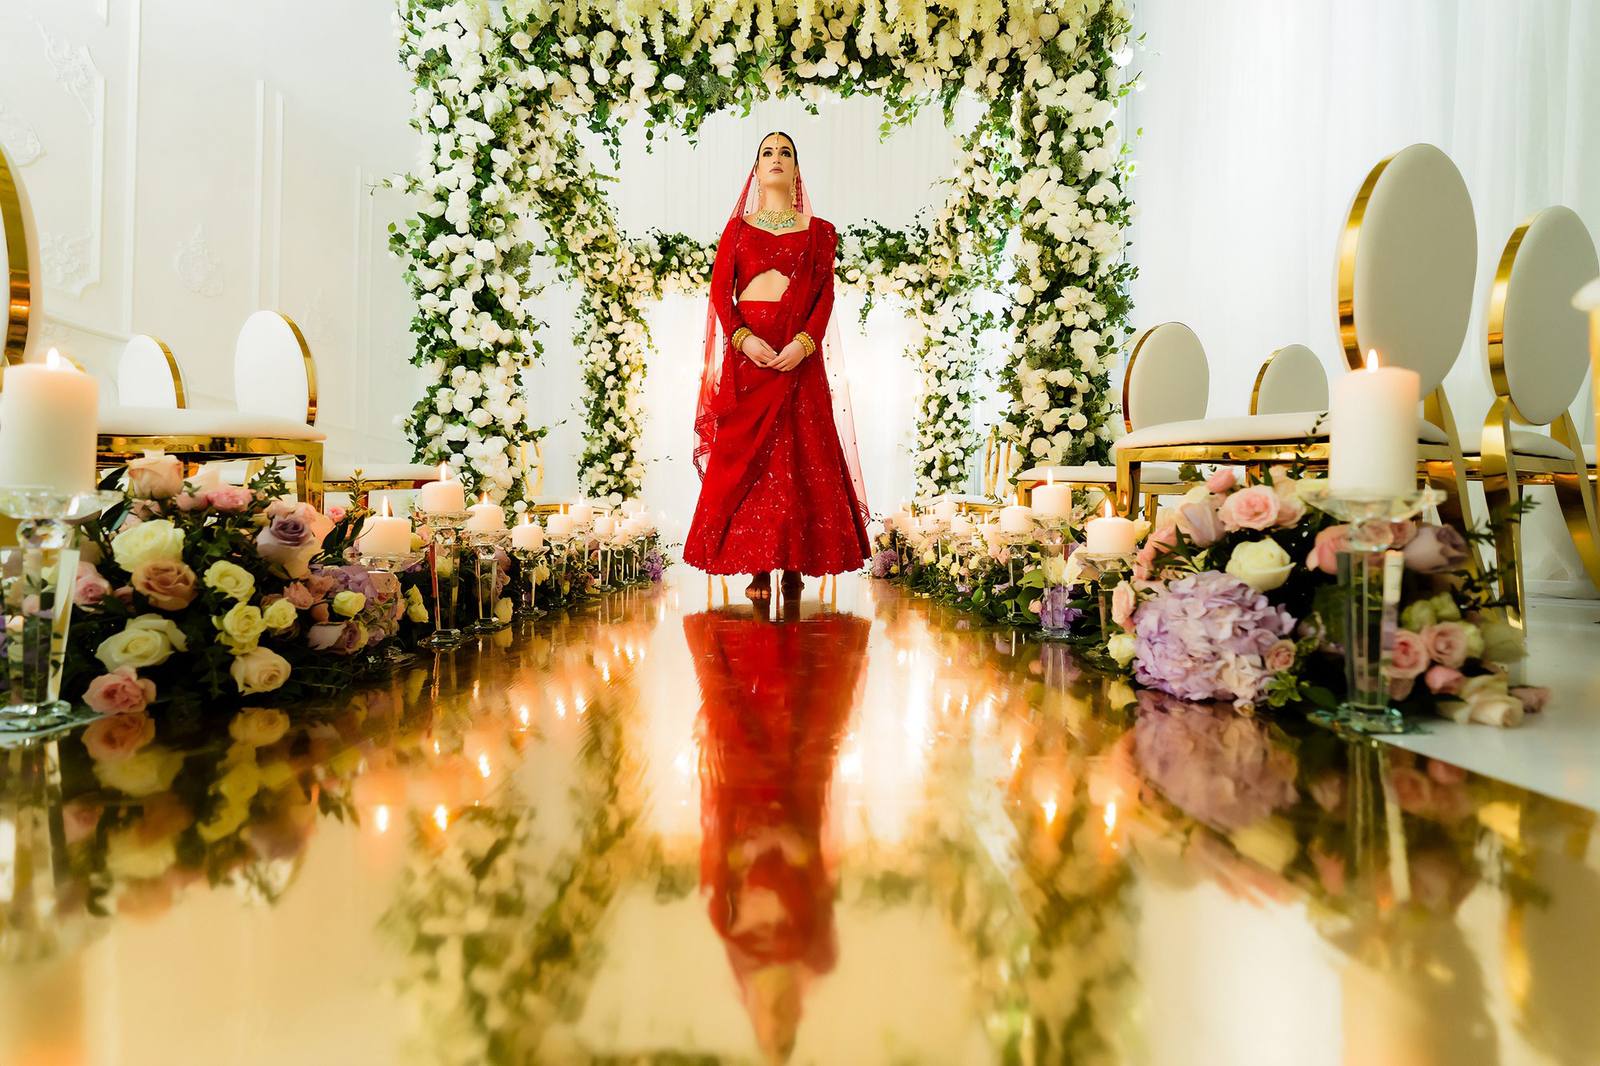
Custom printed dance floors have become one of the most stunning design elements at GTA weddings, and couples are investing significantly to create these personalized centrepieces. As a wedding photographer, capturing these bespoke installations beautifully isn't just a nice-to-have—it's essential for your portfolio and your clients' lasting memories.
Whether you're shooting at a grand Vaughan ballroom or an intimate Muskoka lakeside venue, mastering dance floor photography requires understanding light, timing, and composition in ways that differ from standard reception coverage. Here's everything you need to know.
Understanding Custom Dance Floor Designs
Before you can photograph a custom dance floor effectively, it helps to understand what makes them special. Modern printed floors from companies like Designer Dance Floors feature high-resolution vinyl graphics that can include monograms, floral patterns, geometric designs, or full photographic imagery.
These surfaces have unique photographic properties you'll want to consider:
- Matte finishes reduce glare but may appear flat without proper lighting
- Satin finishes offer a subtle sheen that photographs beautifully in most conditions
- High-gloss finishes create dramatic reflections but require careful light positioning
The best dance floor photographs happen in the fifteen minutes before guests arrive—when the design is pristine and your lighting is entirely in your control.
Essential Camera Settings and Gear
Capturing intricate floor designs requires attention to both technical settings and practical gear choices. Here's a quick reference for common scenarios at GTA wedding venues:
| Scenario | Recommended Settings | Ideal Lens |
|---|---|---|
| Empty floor, detail shots | f/5.6–f/8, ISO 400, tripod recommended | 24–70mm or 35mm prime |
| First dance (low light) | f/2.8, ISO 1600–3200, 1/160s minimum | 70–200mm f/2.8 |
| Overhead/drone style | f/4–f/5.6, ISO 800, wide angle | 16–35mm or 14mm |
| Reception party action | f/2.8, ISO 2000+, rear-curtain sync flash | 24mm or 35mm prime |
Don't Forget a Step Ladder
One of the most impactful angles for dance floor photography is from above. A compact, sturdy step ladder lets you capture the full design while framing the couple or wedding party within it. Many Toronto-area venues have balconies that work perfectly for this—scout your location during your venue walkthrough.

Timing Your Shots Throughout the Evening
The condition and appearance of a custom dance floor changes dramatically as the evening progresses. Strategic timing ensures you capture it at its best.
Pre-Reception (The Golden Window)
Arrive at least 30 minutes before guests enter the reception space. This is when the floor from Designer Dance Floors is completely pristine—no scuff marks, no water droplets, no confetti. Work quickly with your wide-angle lens to capture clean, editorial-style images that showcase the full design.
First Dance
The first dance is your hero moment. Position yourself to capture both the couple's emotion and the floor design beneath them. A second shooter positioned higher (on a balcony or ladder) can capture the overhead perspective while you focus on intimate moments at eye level.
Party Mode
Once the dancing really starts, shift your focus from the floor itself to how guests interact with it. Motion blur, dramatic flash techniques, and candid moments become your priority. The floor becomes a beautiful backdrop rather than the subject.
Lighting Strategies That Work
Dance floors are challenging surfaces for lighting. Here are techniques that consistently produce excellent results:
- Cross-lighting: Position off-camera flashes at 45-degree angles to reveal texture without creating harsh centre hot spots
- Bounce flash: In venues with white ceilings (common in Mississauga and Brampton banquet halls), bouncing flash creates soft, even illumination
- Ambient balance: Work with the DJ's lighting rather than against it—purple and magenta venue lights can beautifully complement custom floor colours
- Rim lighting: A backlight behind the couple during the first dance creates separation and shows the floor design clearly
Coordinating with Vendors
The best dance floor photographs happen when you coordinate with other wedding vendors. Chat with the DJ about their lighting plan, ask the planner when the floor will be fully installed, and connect with the floor rental company if you have questions about the surface finish.
At Designer Dance Floors, we're always happy to share design files or colour specifications with photographers who want to match their editing to the original artwork. A quick email can save you time in post-production