There's something undeniably magnetic about a checkerboard dance floor. From glamorous Toronto hotel ballrooms to rustic Muskoka barn venues, Canadian couples are embracing this bold, graphic pattern in record numbers—and it's easy to see why. The classic checkerboard brings instant drama, photographs beautifully, and creates a defined focal point that draws guests onto the dance floor all night long.
Whether you're planning a black-tie affair in downtown Toronto or an intimate celebration in Niagara wine country, this guide will help you understand why checkerboard floors have become the statement piece of choice for 2026 weddings across the GTA and beyond.
Why Checkerboard Floors Are Dominating Canadian Weddings
The resurgence of checkerboard patterns in wedding design isn't just about nostalgia—though the timeless appeal certainly plays a role. Today's couples are drawn to this bold geometric for several compelling reasons:
- Instant visual impact: A checkerboard floor creates a stunning centrepiece that anchors your entire reception space
- Photography gold: The high-contrast pattern creates dynamic, editorial-worthy images that pop on social media
- Versatile styling: Works beautifully with everything from Art Deco elegance to modern minimalism
- Guest engagement: The defined dance space naturally encourages guests to hit the floor
- Customizable colours: Far beyond basic black and white—think blush and burgundy, navy and gold, or sage and cream
"The checkerboard floor became the conversation piece of our wedding. Every guest commented on it, and our photos look like they belong in a magazine."
Popular Checkerboard Styles for GTA Weddings
At Designer Dance Floors, we've seen certain checkerboard variations emerge as clear favourites among Canadian couples. Here's what's trending right now:
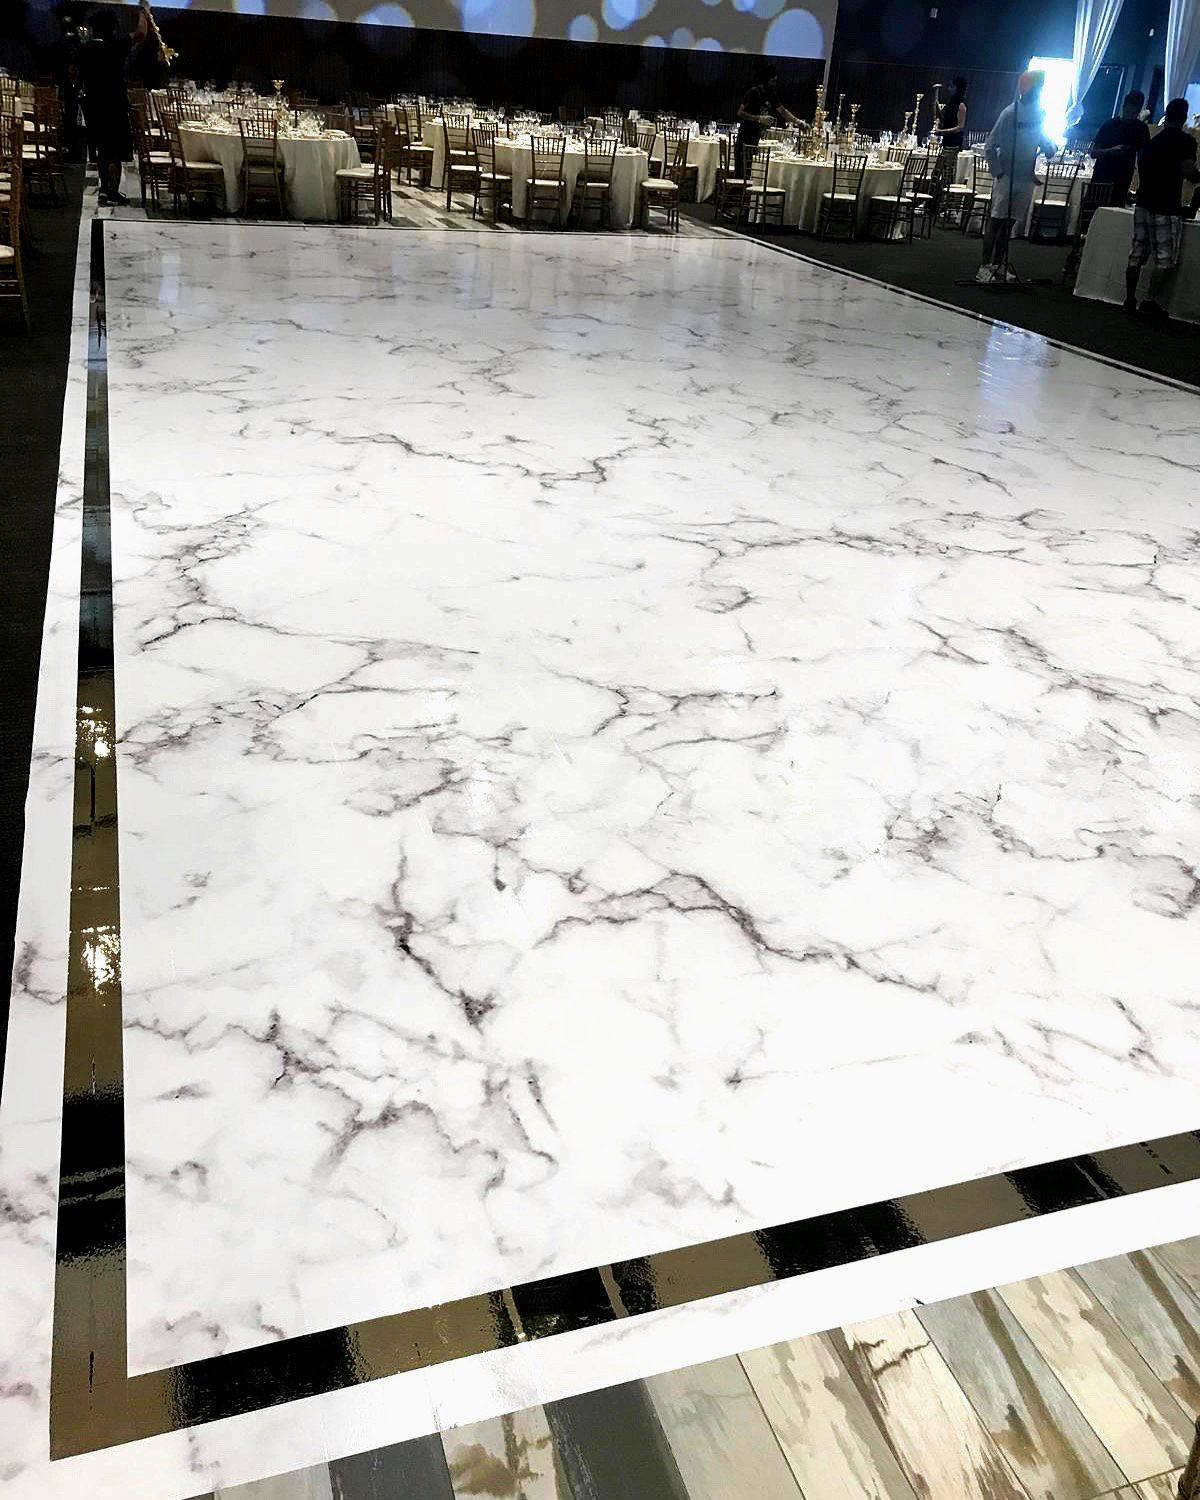
Classic Black & White Marble
The quintessential choice for elegant venues. A faux marble finish adds sophistication and depth to the traditional checkerboard, creating a look that feels both timeless and luxurious. This style pairs exceptionally well with venues like the Fairmont Royal York, Liberty Grand, or Palais Royale.
Soft Neutrals
For couples seeking something gentler, ivory and champagne or blush and white checkerboards offer the same graphic punch with a romantic, ethereal quality. Perfect for garden weddings at estates throughout the Niagara region or vineyard celebrations in Prince Edward County.
Bold Colour Blocking
Modern couples are pushing boundaries with unexpected colour combinations—deep emerald and cream, terracotta and sand, or even custom colours matched to their wedding palette. These statement floors work beautifully in industrial venues like the Distillery District or converted warehouse spaces.

Sizing & Pricing: What to Expect
Understanding sizing is crucial for creating the right impact. Too small, and your dance floor looks cramped; too large, and it may overwhelm your space. Here's a helpful guide based on guest count:
| Guest Count | Recommended Size | Starting Price* |
|---|---|---|
| 50–80 guests | 12' × 12' (144 sq ft) | $1,200–$1,600 |
| 80–120 guests | 14' × 14' (196 sq ft) | $1,500–$2,000 |
| 120–175 guests | 16' × 16' (256 sq ft) | $1,900–$2,500 |
| 175–250 guests | 18' × 18' (324 sq ft) | $2,400–$3,200 |
| 250+ guests | 20' × 20' or custom | $3,000+ |
*Prices reflect 2026 GTA rates and include delivery, installation, and removal within the Greater Toronto Area. Venues outside the GTA may incur additional delivery fees.
Making It Work for Your Venue
One of the most common questions couples ask is whether a checkerboard floor will work with their specific venue. The short answer: almost always yes. Custom printed vinyl floors from Designer Dance Floors can be cut to virtually any dimension, accommodating everything from intimate loft spaces to grand ballrooms.
A few considerations for popular GTA venue types:
- Hotel ballrooms: Checkerboard floors create stunning contrast against neutral hotel carpeting
- Barn & rustic venues: The geometric pattern provides elegant counterpoint to weathered wood and natural textures